 When you are craving for Dosas and want a quick fix, make yourself Ghee Ragi Oats Dosa.
It’s simple, easy and healthy. Ragi boasts of high nutritional content and oats is rich in fibre. I prefer to make it with ghee instead of oil as it’s healthier.
It’s best to have this delicious dosa with sambhar and chutney. I served this dosa with ridge gourd chutney. Alternatively, you can serve it with tomato / coconut / peanut chutney.
Do give this dish a try. Your family will keep asking for more.
Recipe for Ghee Ragi Oats Dosai
🕝Preparation time: 5 minutes
🕒Batter resting time: 5 minutes
🕓Cooking time: 10 minutes
🕔Total: 20 minutes
🍽️Serves up to 4 persons
Ingredients
- Ragi / Finger Millet flour: 1/2 cup
- Oats (powdered): 1/2 cup
- Rava / Semolina: 1/2 cup
- Green chilli: 3 (chopped)
- Ginger: 1 piece (finely chopped)
- Coriander leaves: handful (finely chopped)
- Curry leaves: 2 sprigs (about 8 – 10 leaves)
- Cumin seeds (jeera): 2 tsp
- Onion: 1 (finely chopped) Optional
- Salt as per taste
- Ghee (clarified butter) / oil: as required
- Water: 4-5 cups
Instructions:
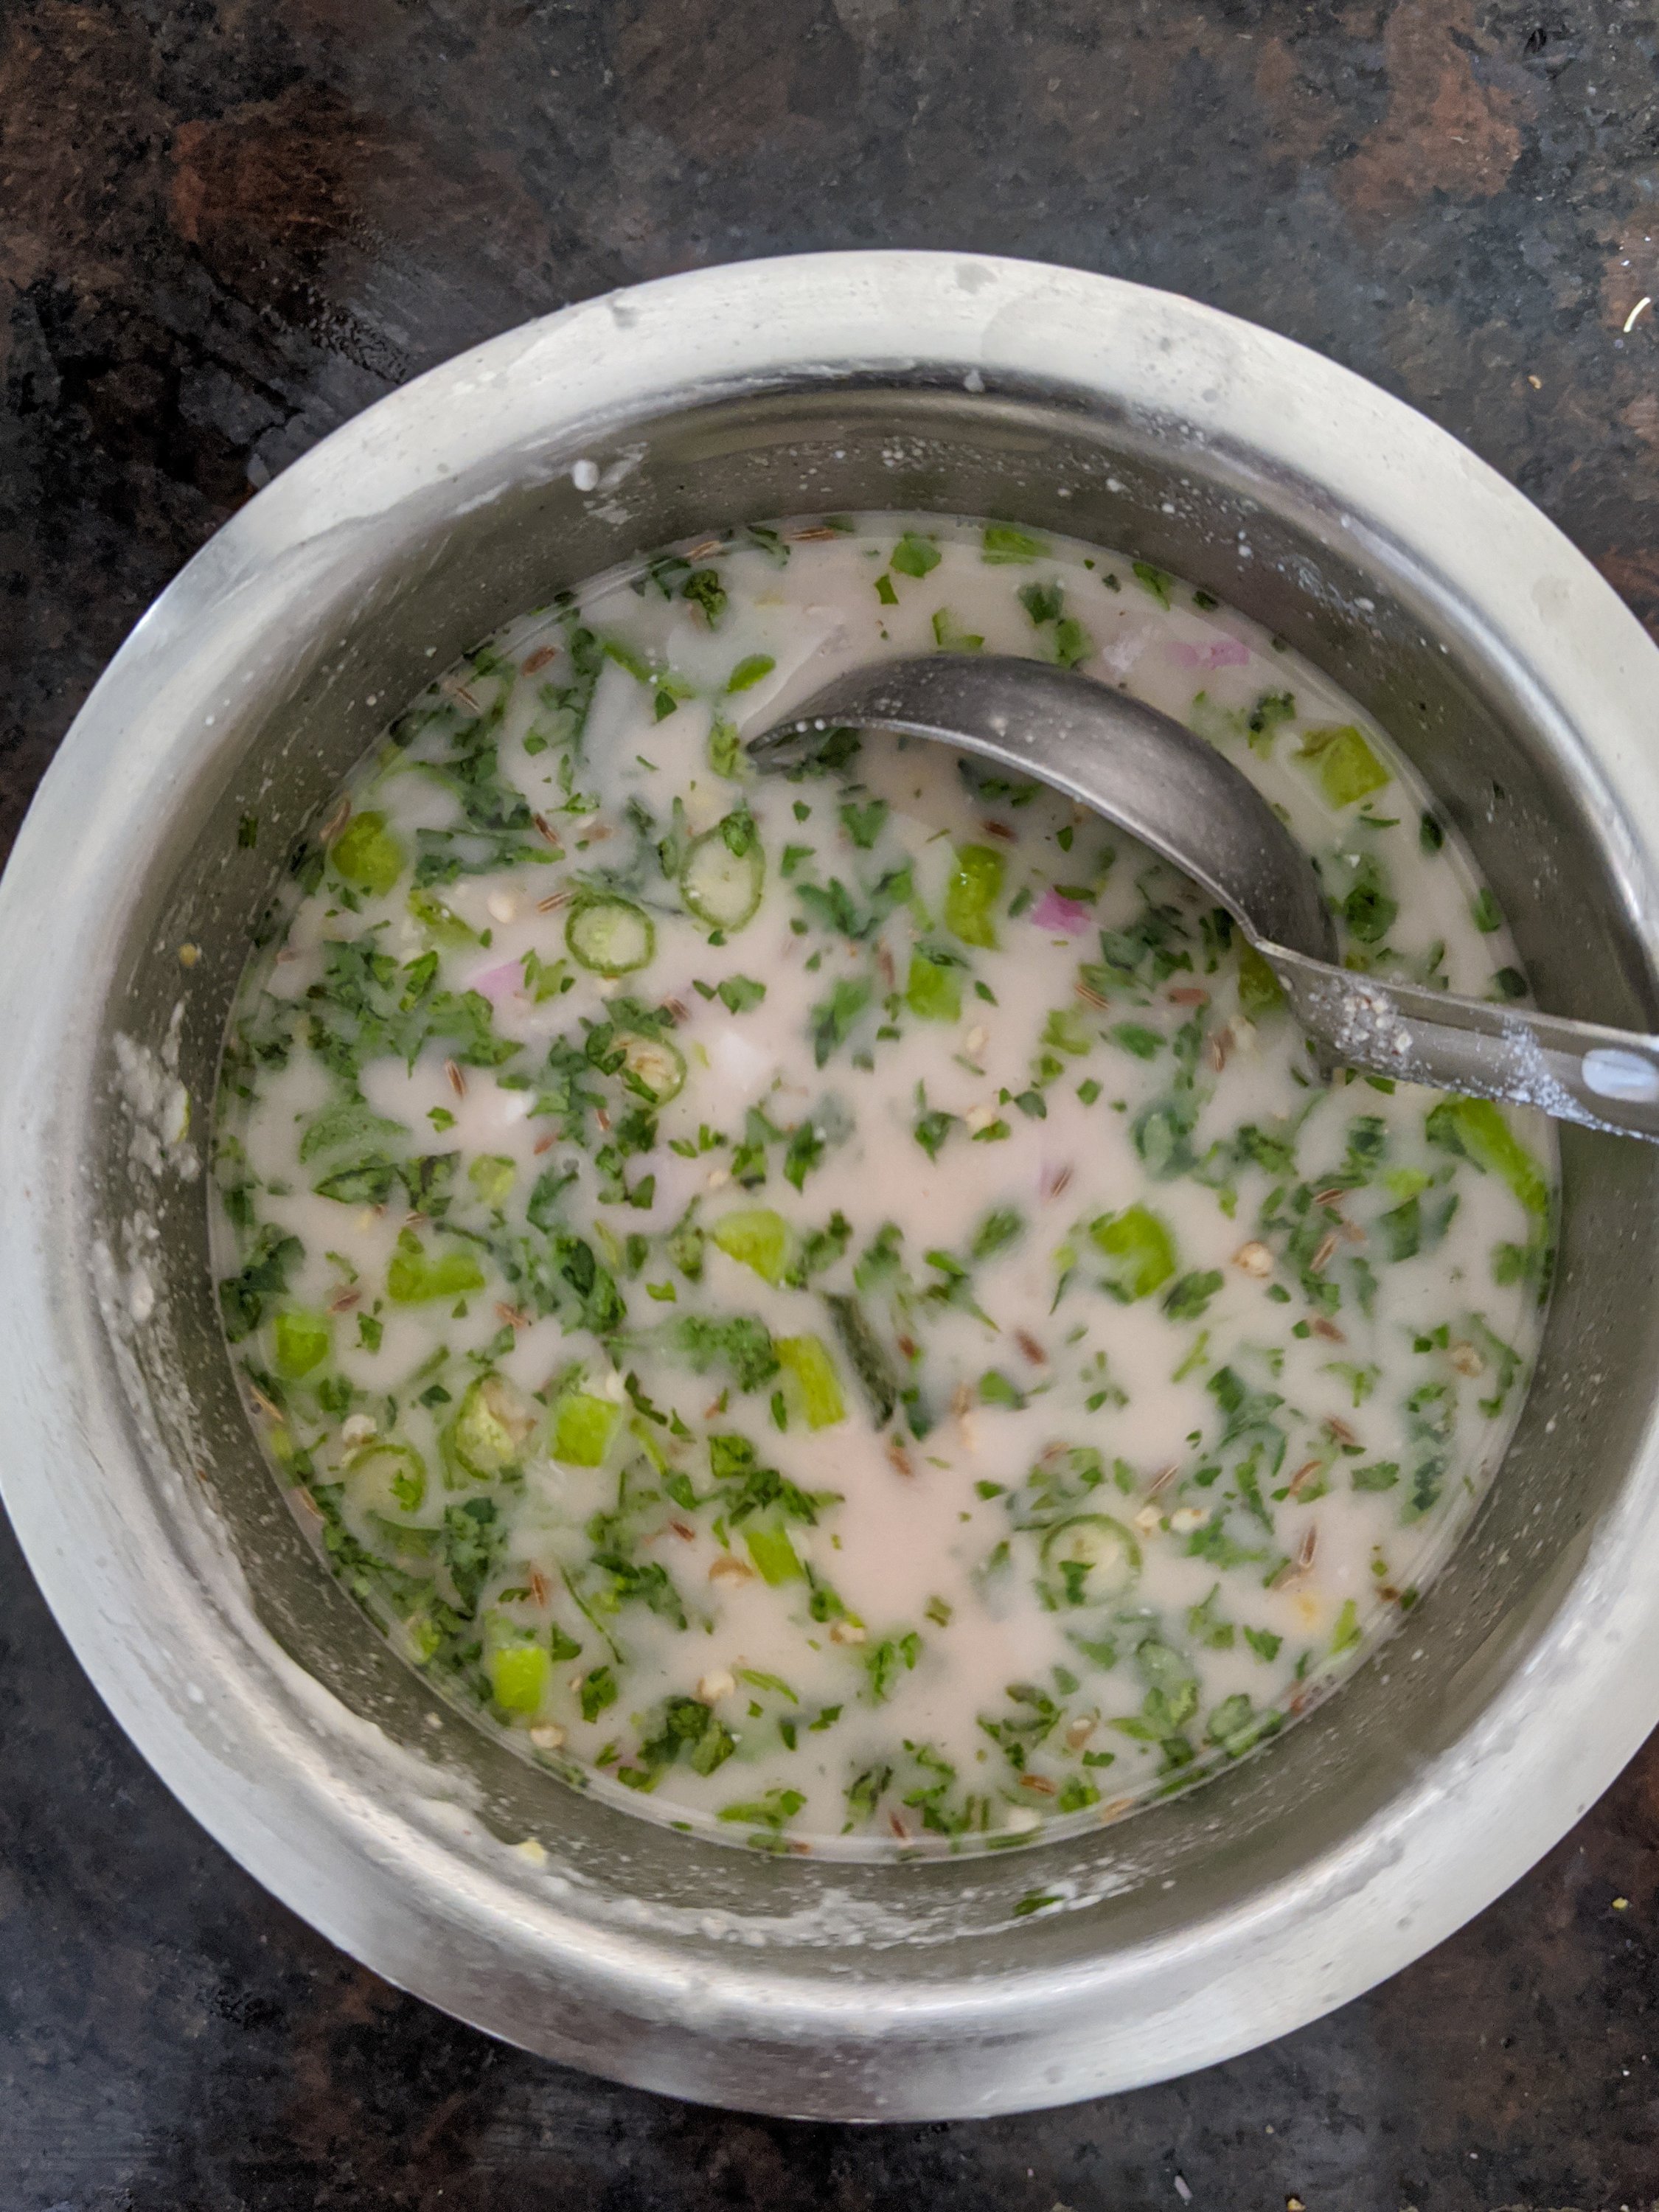
- For making the batter, in a large bowl, add 1/2 cup of ragi, 1/2 cup of powdered oats and 1/2 cup of semolina.
- Add the chopped ginger, green chilli, curry leaves, coriander leaves, cumin seeds and salt.
- Pour water, stir the batter well and ensure there are no lumps. Let it rest for 5 minutes. The batter should be of thin consistency.
- The iron skillet / tawa should be really hot when you pour the batter. To test it, sprinkle a few drops of water on the tawa. If it sizzles and evaporates immediately then the tawa is hot enough for making the dosas.
- When the batter is runny, it spreads on its own on the tawa because of the heat and produces holes and thus makes the dosa crispy.
- Grease the tawa with 1/2 onion and add 1 tsp of ghee to make it non-stick. Keep the tawa on medium flame and add the finely chopped onion.
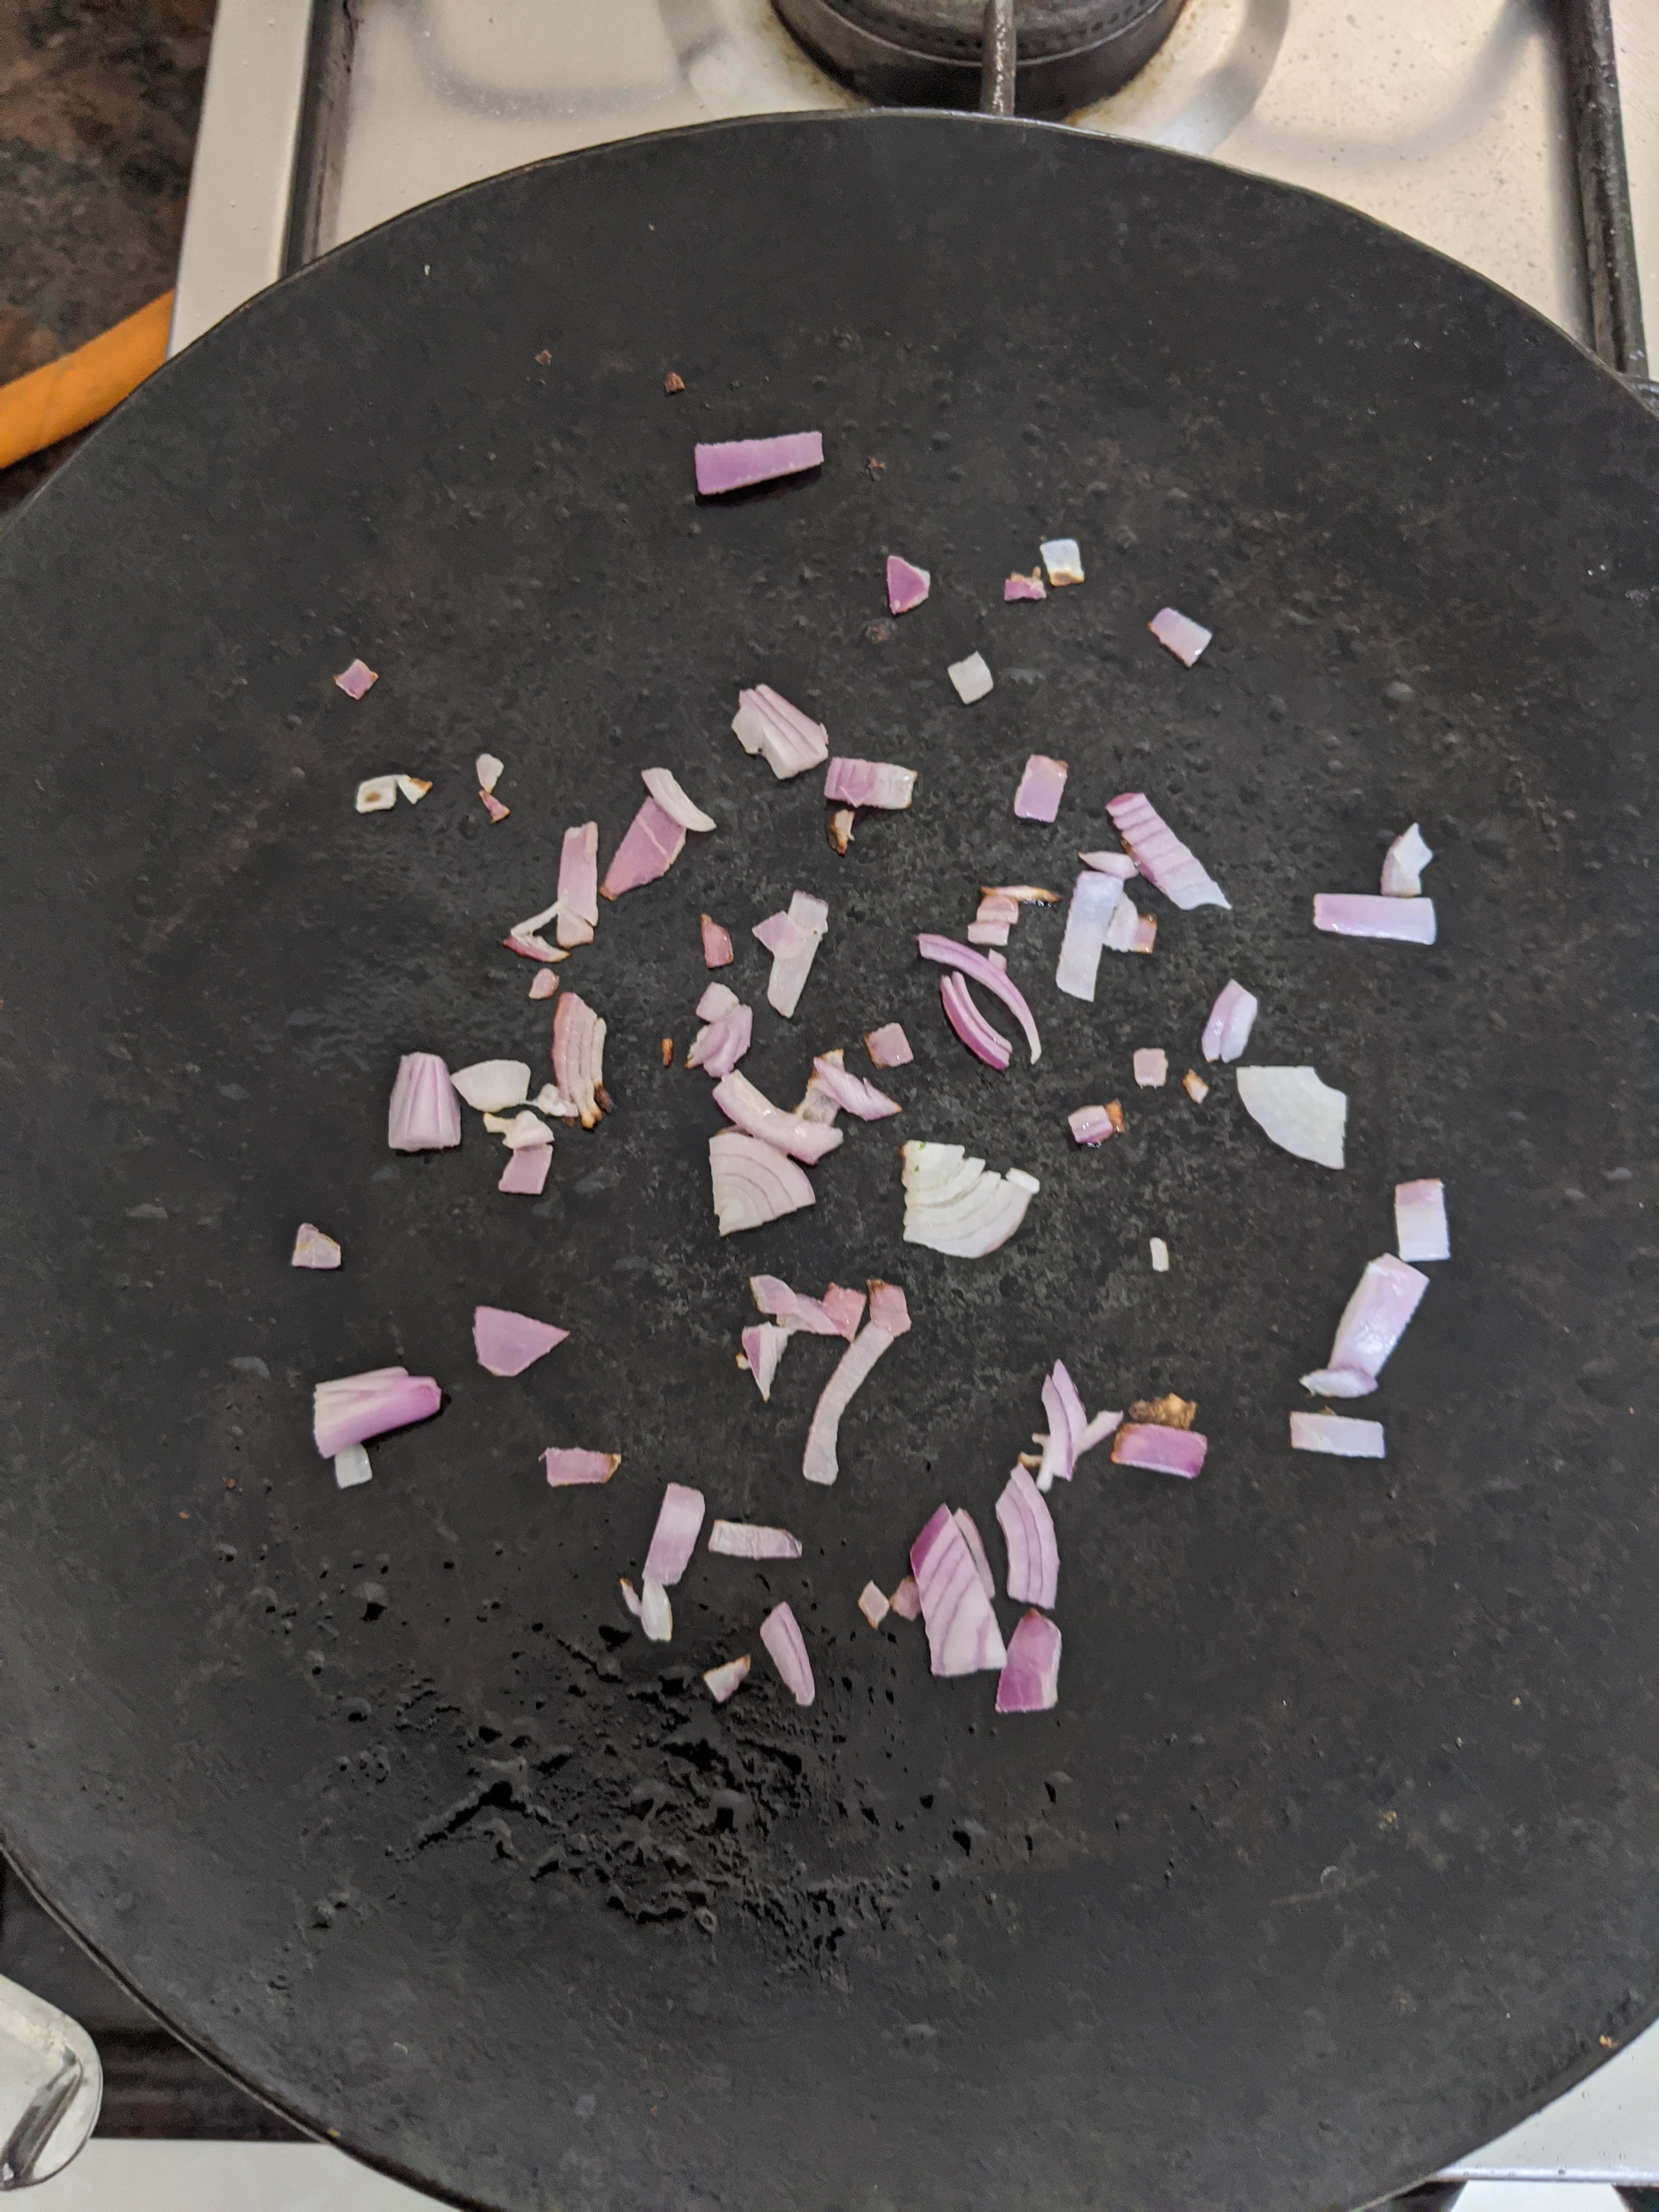
- Cook the onion for a minute. (Ensure the onion doesn’t burn).
- Next, carefully pour a ladle of batter onto the tawa starting from the outer edges. (Unlike regular dosa, do not spread the batter after pouring it on the tawa).
- The batter will sizzle and spread on its own forming holes. Fill it with batter where there are holes.
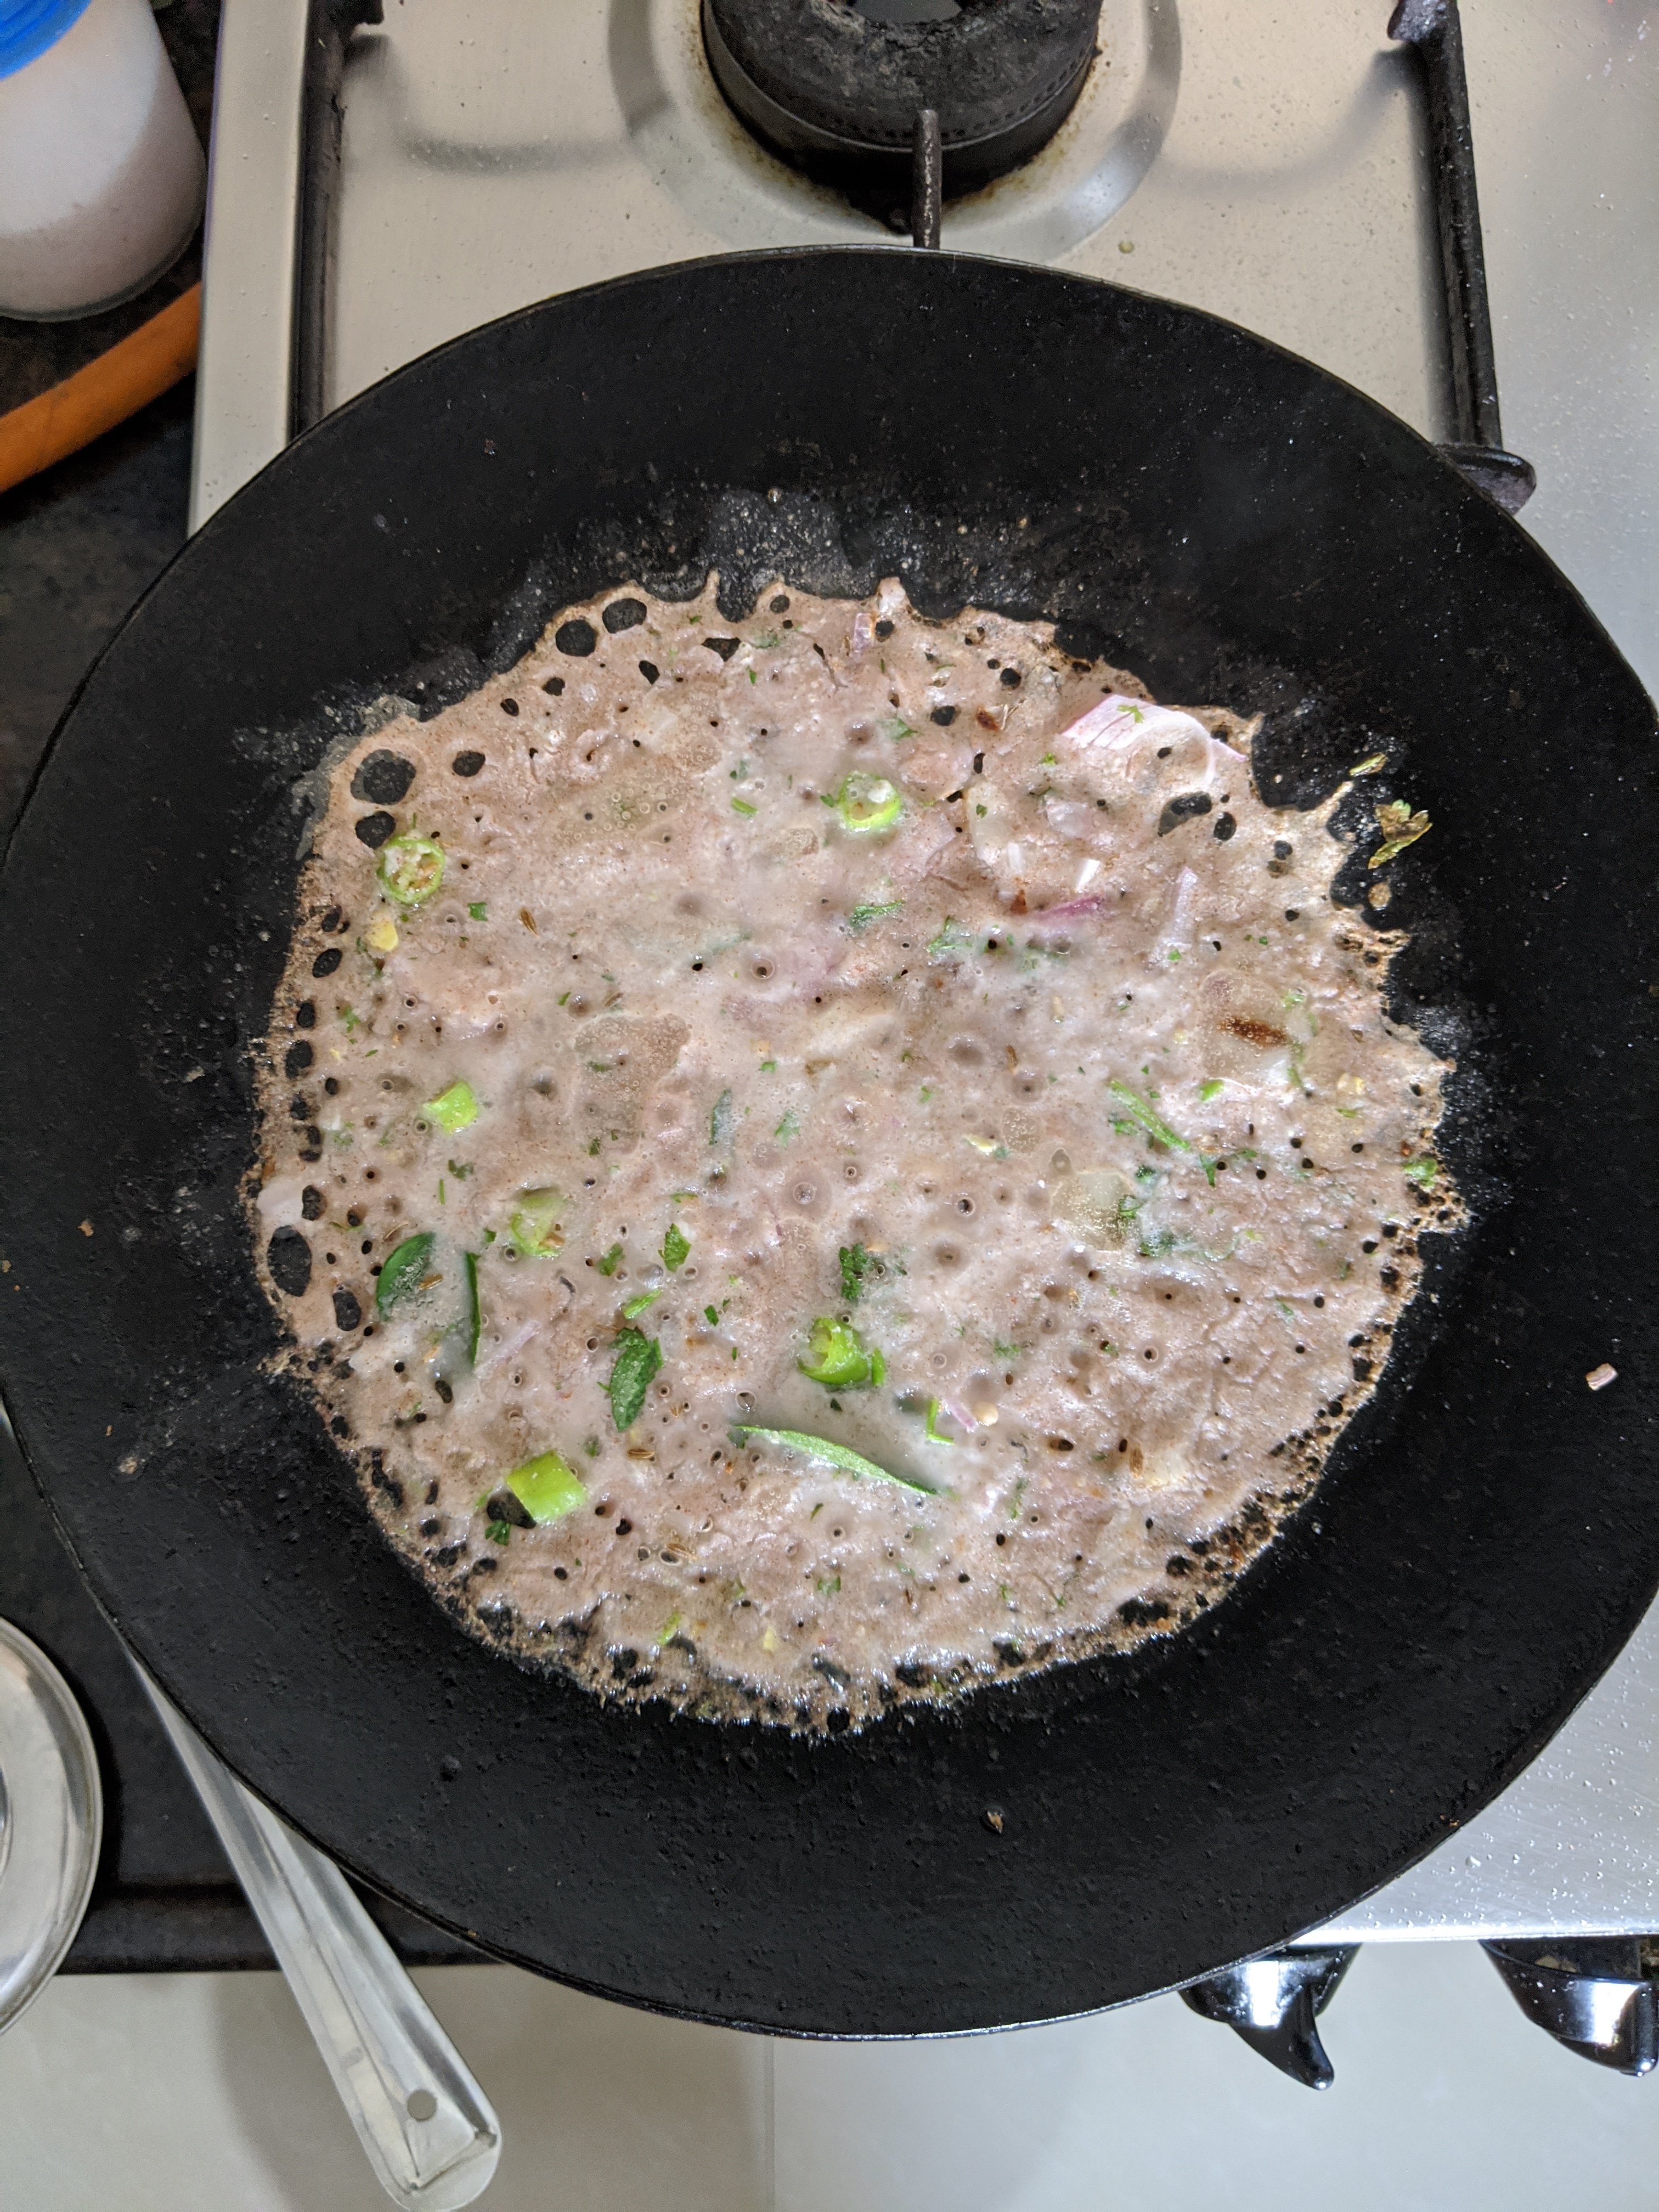
- Drizzle ghee / oil on the dosa to cook it well. Let it cook for about 3 minutes on medium heat.

- Once cooked, turn it over and cook it for another minute. At this point, the dosa will be thin, crisp and golden brown on one side.
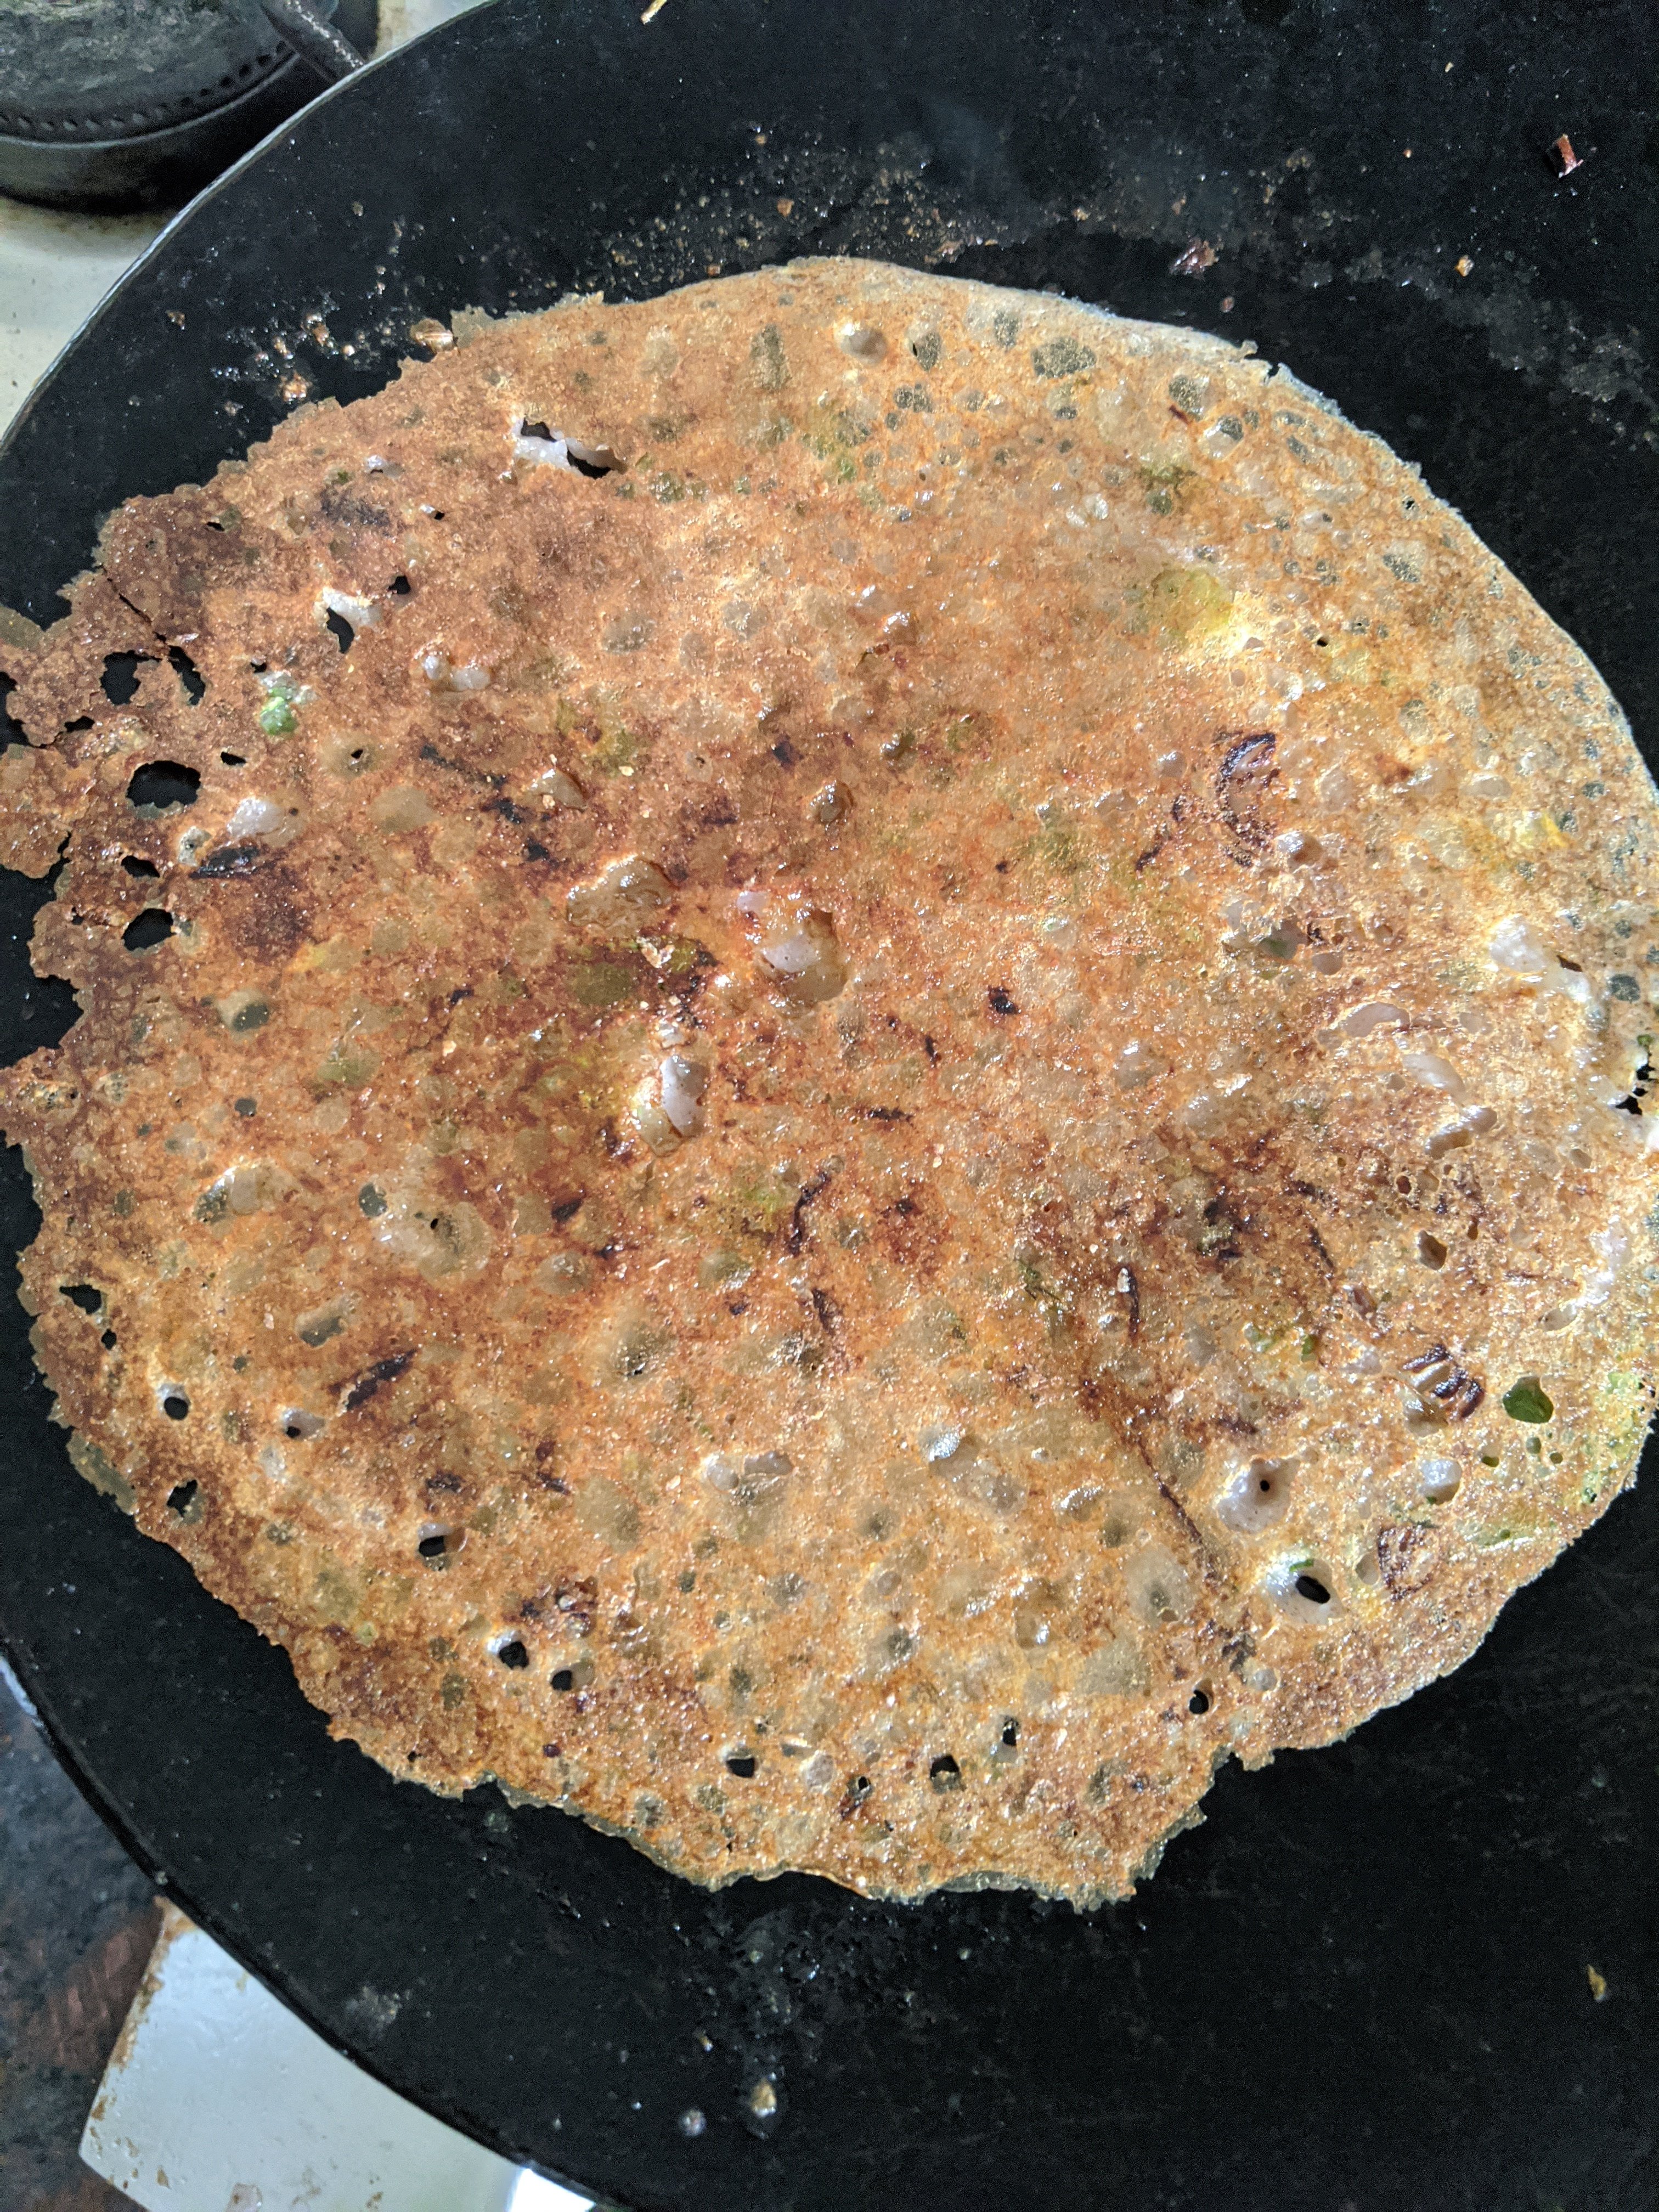
- Remove the dosa off the skillet, fold it on both sides and serve it with a chutney of your choice.
Tips:
- I prefer using an iron tawa over a non-stick one as it’s healthier and the dosas prepared on it taste better and are flavorful.
- Usually these dosas take time to cook and I suggest slow cooking for preparing crispy dosas.
- If you are looking for gluten-free options, then replace rava with rice flour.
